$30 DIY Top Case
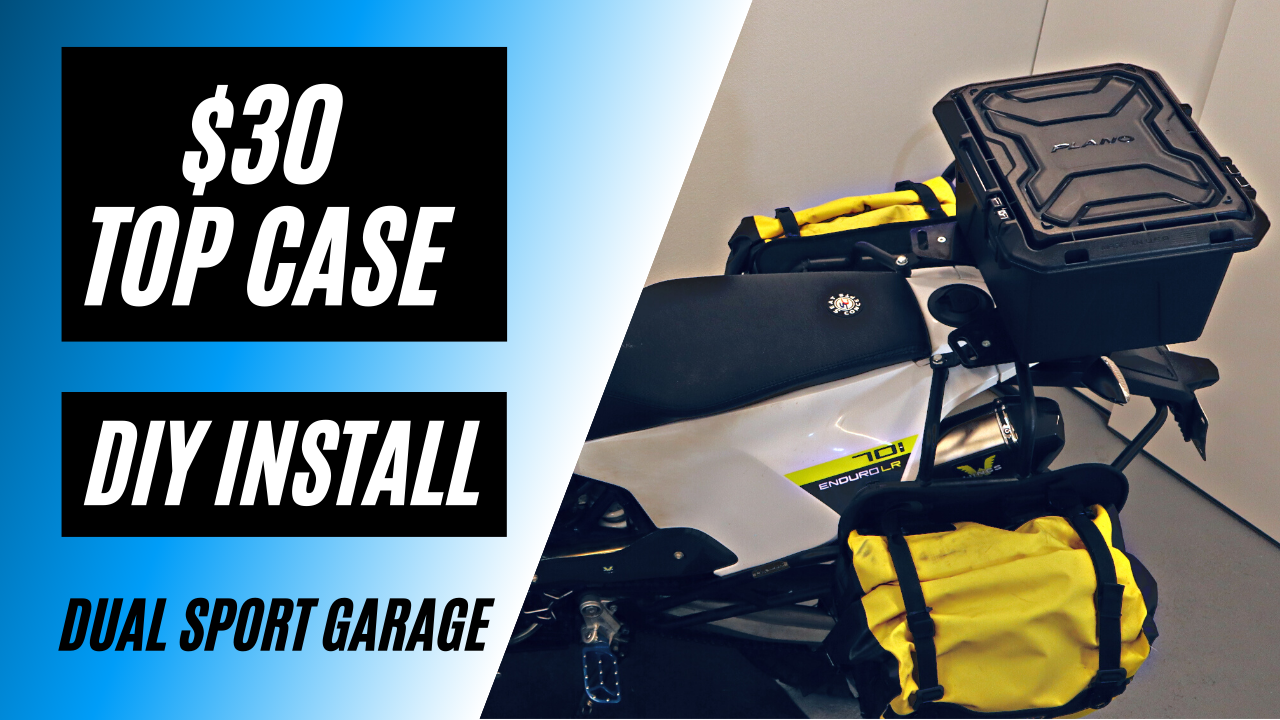
After shopping around for a top case for my GS it dawned on me that I might be just as well off with a DIY version of the real thing. So here’s what I came up with. I have made a few different versions but this is the one that I like best. Obviously the method described below will work for almost any utility box you decide to use for your particular application.
Tools, bungie net, a power pack, a tube, a backup pair of gloves and you still have room left over for a six pack of your favorite brew on the way to your campsite.
Unlike your soft luggage, a top case is a great place to keep items you might need to get to quickly.
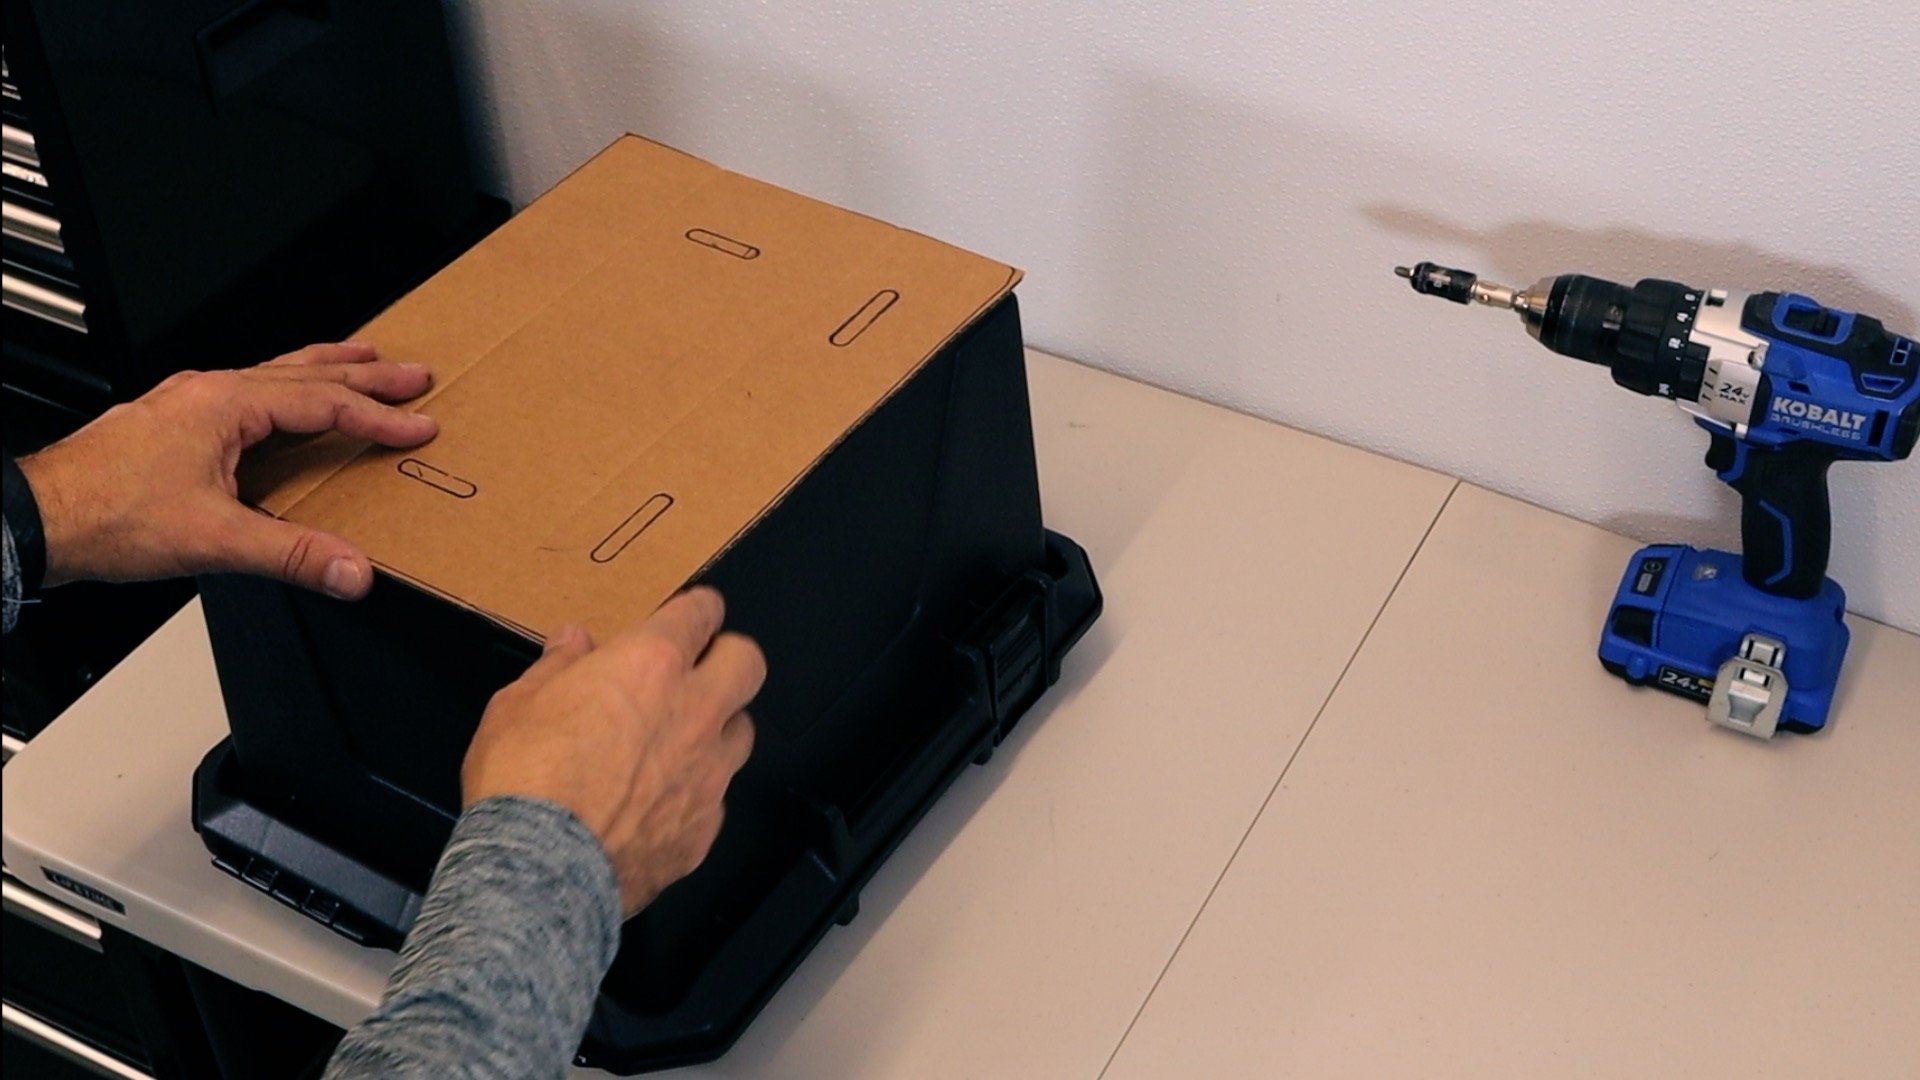
Scrap cardboard and a Sharpy are all you need to make yourself a template, so the hols you drill in the box, line up with the holes in your top rack.
At about 16 liters this hinged top utility box is a supremely affordable at under $30 dollars and is widely available at hardware stores, outdoor stores and other retailers. It is water-resistant because of an o-ring and groove where the lid meets the box. So far I have not had any issue with rain finding its way in. To discourage tampering, the box has two gaps in the lid which make it easy to add two small padlocks, or as I prefer, a couple luggage locks.
Begin by outlining the box on your cardboard with a marker. Creases in the cardboard will be helpful later by making it a bit easier to line everything up one side at a time.
Using a box cutter cut out your template along your marked out lines.
Caution: Use scrapes to create layers between the knife and your table top. Also be sure to keep your body out of the path of the knife as a precaution and/or cut away from your hands and body.
The finished template. Considering how much purchasing is done on line. Most of us have no problem finding a box that was on it’s way to the recycle bin.
Check and orient your box with hinges on the high side of the bike when it is resting on the kickstand. This will lean the contents toward you, making everything easily visible and accessable to you.
Mark the template with an arrow indicating where the front of the box will be. This makes keeping everything oriented the same way during each step of the process easier.
Test fit the box on top of the rack to determine the best location for mounting your soon-to-be top case.
It’s a good idea to take note of any items you will need direct access to once you load up the bike with all your luggage. On the Husky 701 enduro LR there is a rear gas tank filler cap that I will need to stay clear of.
Another consideration, should be to maximize your tie down points on the top rack. In this case I was careful to maintain access to the front and rear knockouts, so bungee nets and tie downs have a place to be properly secured.
Mounting the box widthwise tends to leave you with more room to strap soft items like bed rolls and dry bags between you and the box, maximizing your luggage capacity while often creating a bit of a backrest for you.
Once you have the template where you want the box trace out the openings in your top rack that you will use to secure the box.
Choosing openings that are farther apart will create a more stable and secure top case when your DIY top case is finally mounted up.
Make sure that your template is oriented correctly with the front of the box matched to your forward arrow on the template.
Now flip up the template and plan out where you can safely drill your holes, avoiding the ridges that could case your drill bit to wander as you drill.
Maximizing the width bewteen these holes will give the case stabilty
The drill bit should match the bolt size as closely as possible to minimize the chance of moisture finding its way into your top case.
Perfect spacing or simetry is not critical in this step as long as the bolts find there way through the cut outs in your top rack.
Round head stainless machine screws will ensure longevity and a clean interior for your favorite goodies. While washers will help distribute the pressure to maintain the integrity of the holes in the box.
Stainless washers and nyloc nuts will keep this top case secured firmly in place. Don’t over tighten! Firmly snug is all you need here.
Add your favorite locks, and you are all set for your camping weekend or a week on the BDR!


