
CRF300L Rally Side Racks Install
The CRF300 Rally is a great choice for serious adventure travel provided you make a few modifications and upgrades in preparation. One mandatory mod is setting the bike up to carry all your clothes, food, and camping gear. Full-size side racks are the best way to maximize your luggage carrying capacity. Here is a quick How-To on just that kind of set up, Below I’m using Outback Motortek side racks for the 300L and 300 Rally. These racks are mild steel so they are easily repaired if needed. Beware of stainless steel, which looks great until you have to try to bend it back after a fall. During this install, there was just a little surprise along the way. Removing the left side passenger peg proved to be a little less straightforward than the install video made it seam. So with that I’ve included the details below and also posted a compete installation video on YouTube, for further clarity.

Outback Motortek side racks with X-Frame for under fender storage options.

Part of my set up is this AXP top rack.

This is one of the biggest racks you will currently find for the CRF300L / Rally at approximately 15 x 13.

With a top rack of this size I have no problem adding a top case with room left over for using tie downs and bungee straps front, back and on the sides.
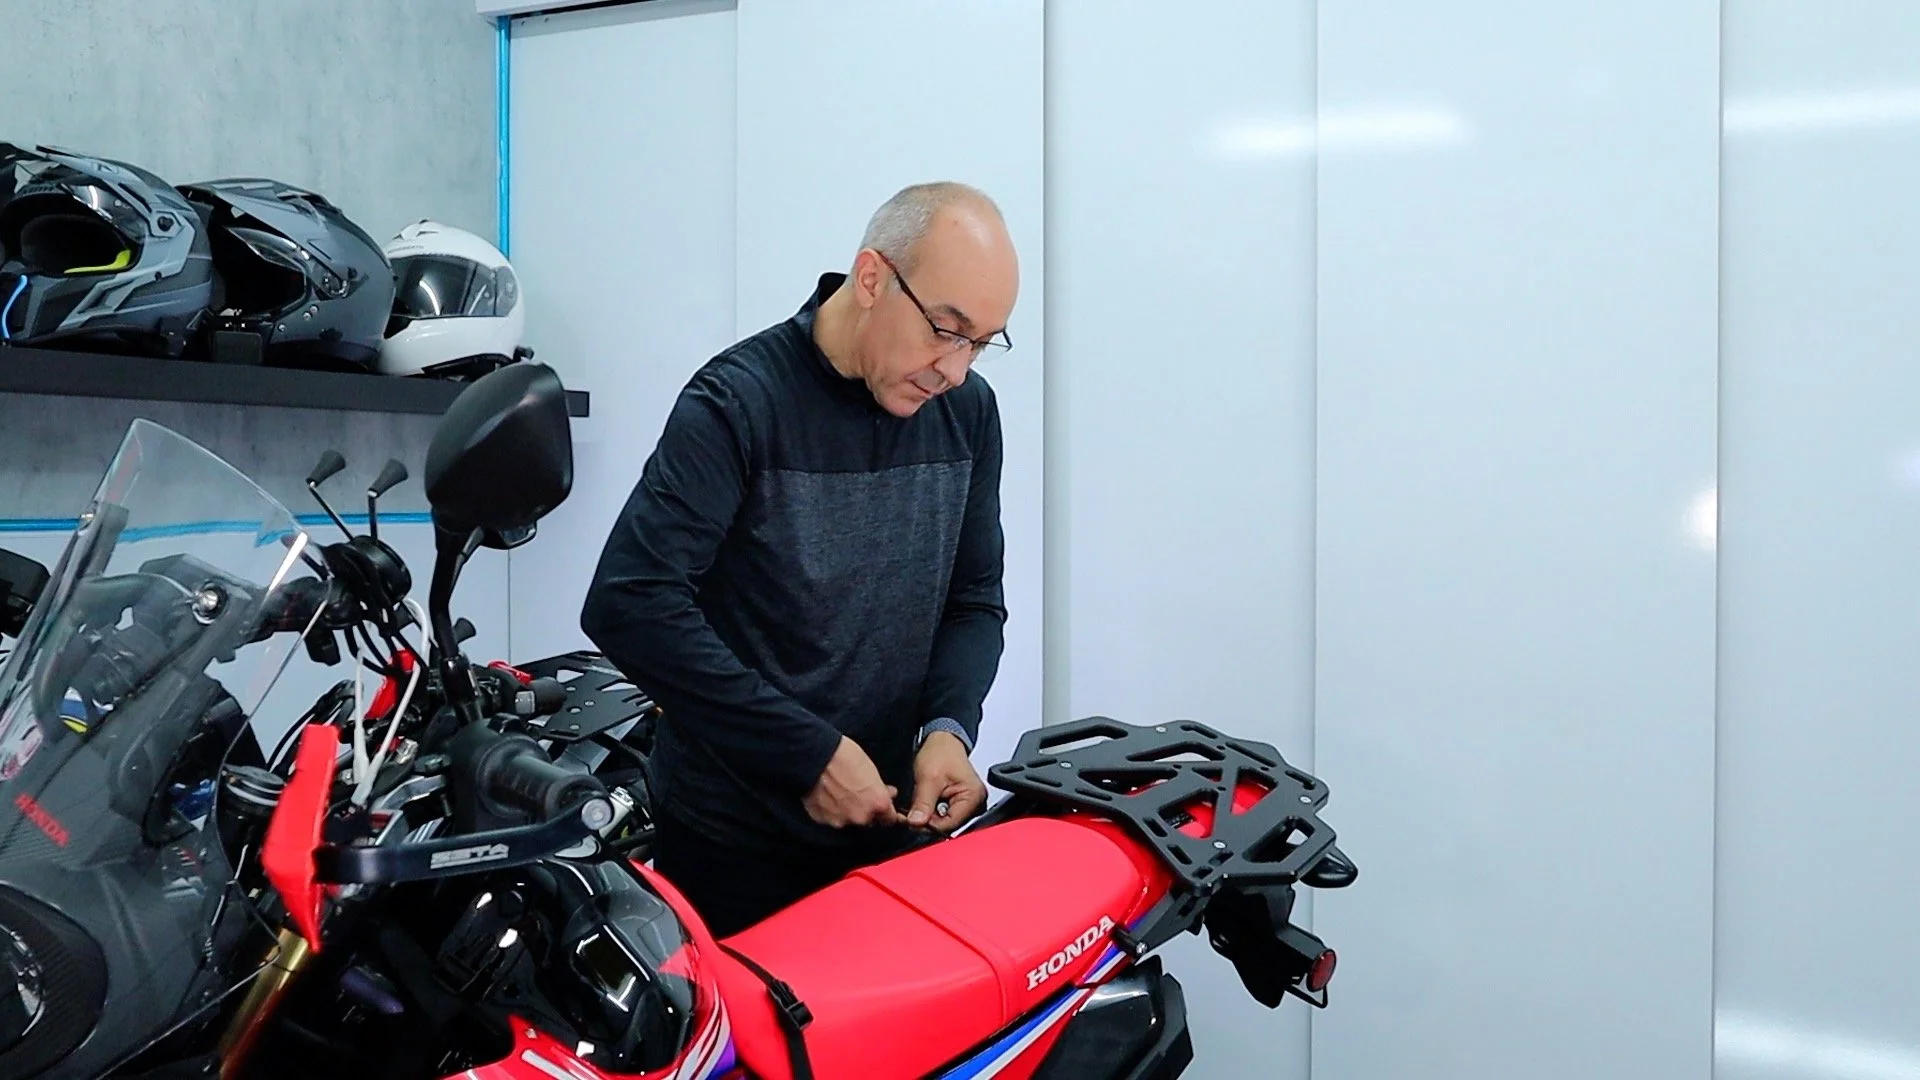
First step of course is to get the top rack off the bike if you have one.

Next up lets get the passenger pegs off the bike.

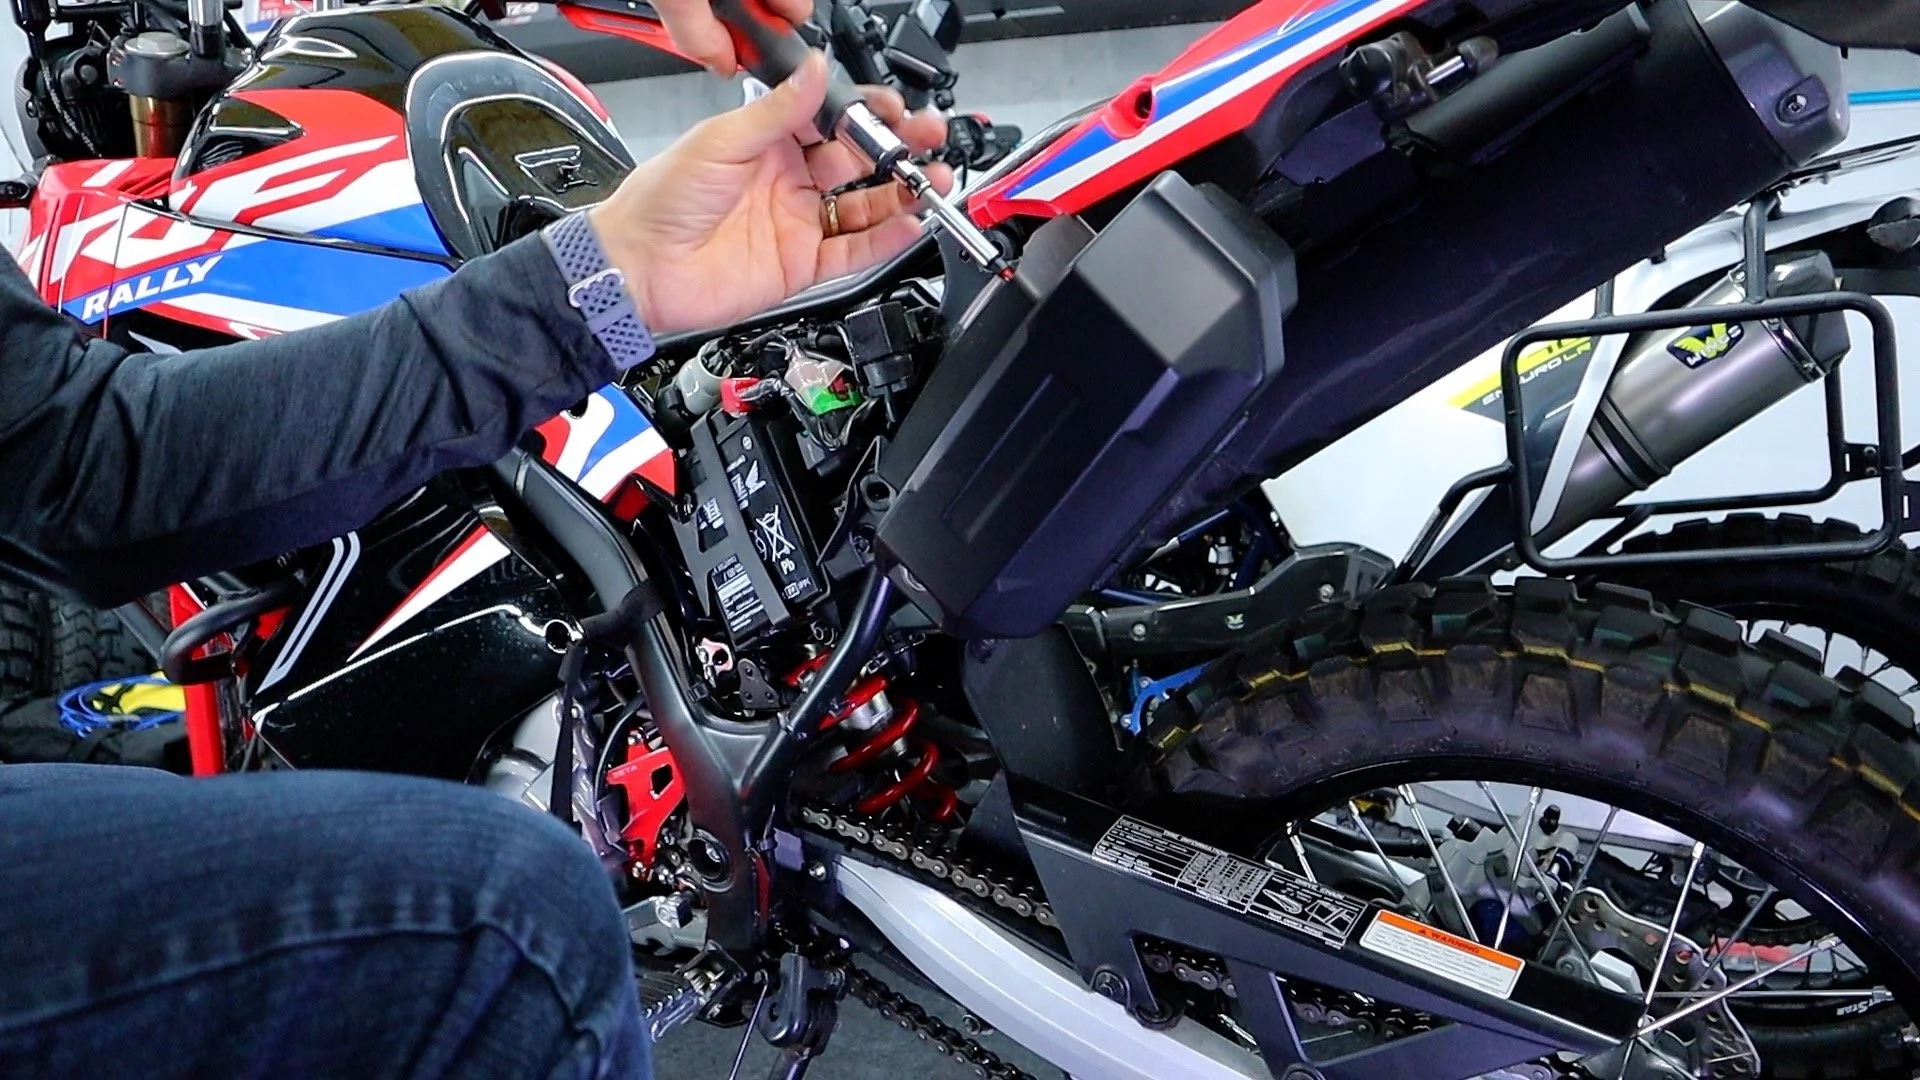
On the left side you will run into a problem because there is not enough clearance to pull the pin up and out.

After pulling the bodywork out of the way it became clear that there is no way to pull the pin up even with the battery removed the battery case was not flexible enough to squeeze passed.

A pair of tin snips are my favorite all purpose cutters. In this case a small notch out of the bottome of the battery box is all we will need to allow the pin to come up and out.

This shows just how far up this pin needs to be pulled up before the foot peg will come off.
In order to accommodate my future plans for the X-Frame it’s helpful to get the factory toolbox off at this time. Just 4 Phillips head screws need to be removed. 3 on top and 1 under the fender.

On the right side, after you remove the cotter pin, you should be able to reach behind the body work and pull the pivot pin up and out without removing the bodywork.

Take care not to misplace the four shoulder washers. They hold the back fender bodywork in place. The deeper silver ones are used closer to the seat, while the shorter black ones are used toward the back of the bike. Note: in this case I will use the short black spacers which came with the top rack. if you don’t currently have a top rack you will use the longer silver spacers pictured above.

The shorter bolts will fasten the rack at the passenger pegs. The longer bolts secure the top and side racks together up top. Of course the small fasteners will secure the cross brace. And the X-Frame has it’s own set of fasteners to secure it to the racks once we have them affixed to the bike.

Be sure to leave the passenger peg bolts nice and loose because the rack will just slide in-between the black washer and the frame as you get the top of the rack situated.

The easiest way to get the top rack situated is to have the bolts and spacers fed through the rack. Then slide it into place, being careful not to knock the shoulder washer out of place. Here you can see the silver deep shoulder washer stay in place (under the “H” on the seat) while I moved the rack with spacers over it.

Dry fit the racks to be sure the holes line up. Fortunately these racks are mild steel so if there is any need to bend them slightly, now or on the trail, it will be no problem. Don’t try that with stainless steel or aluminum parts.

Once everything is dry fitted. Add thread locker to each of the four top bolts before tightening them down fully.

Careful not to mount the cross-brace in the down orientation…pictured above. While not fatal, it is not nearly as tidy.

In the correct orientation the cross-brace tucks in under the license plate holder quite nicely.

You will want to use the self locking nuts with the silver washers on the inside of the rack and the small black bolts with black washer facing out on the rack for the best possible look. You are now ready to fully tighten all fasteners including the passenger peg bolts.

Next up you will loosely fasten the two bottom screws and clamps to the X-Frame.

Drop the X-Frame onto the bottom rail of the rack. Then add your top clamps.

Center and tighten in place with the included 4mm allen head screws.
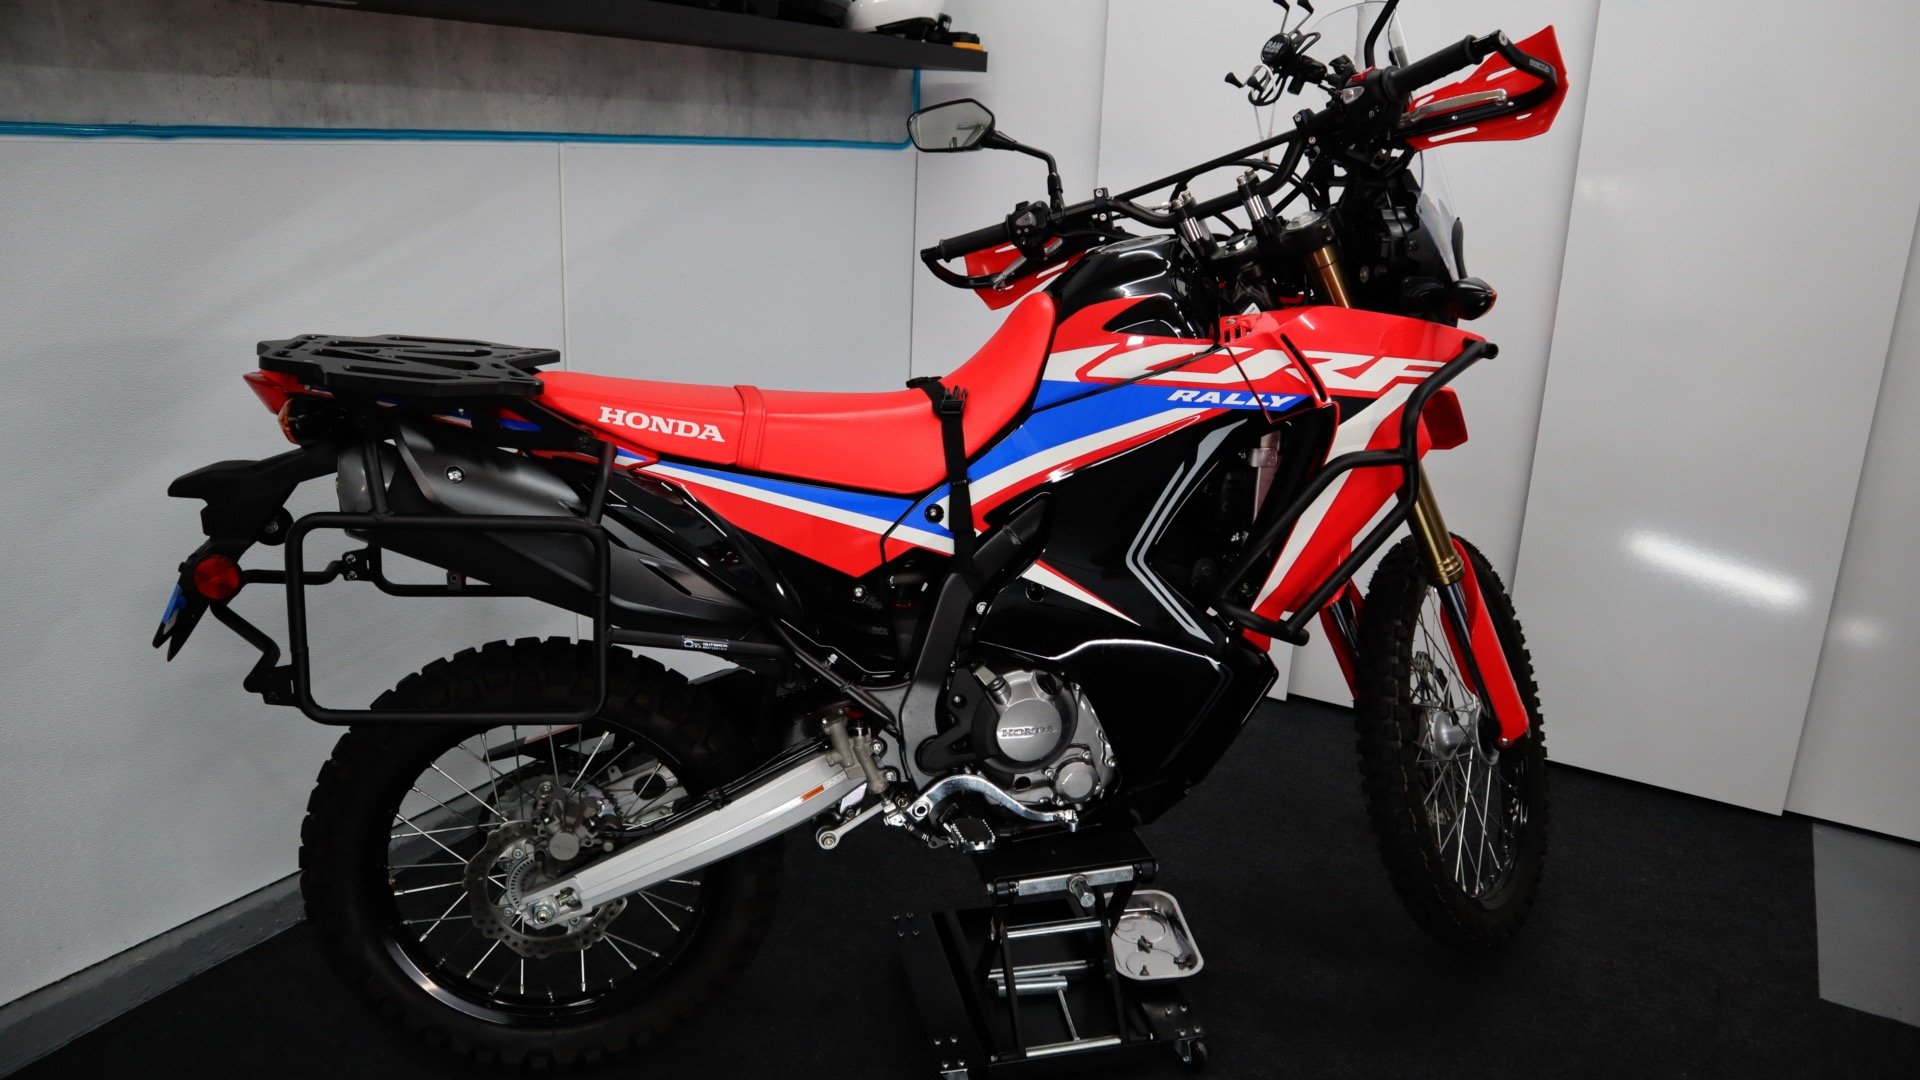
This 2021 CRF300L Rally is ready to load up and crush some serious miles.

This 300 Rally is one step closer to being the ultimate small displacement full-on adventure machine.

Hopefully these insights are helpful for you. Good luck with your own luggage rack set up.
Questions, comments or feedback?
Hop over to my youtube channel to get the full video walk through.
You can find these racks and the optional X-Frame at the Mosko Moto site Here
Please note that I did not receive any financial or product support from any of the manufacturers or retailers mentioned above.